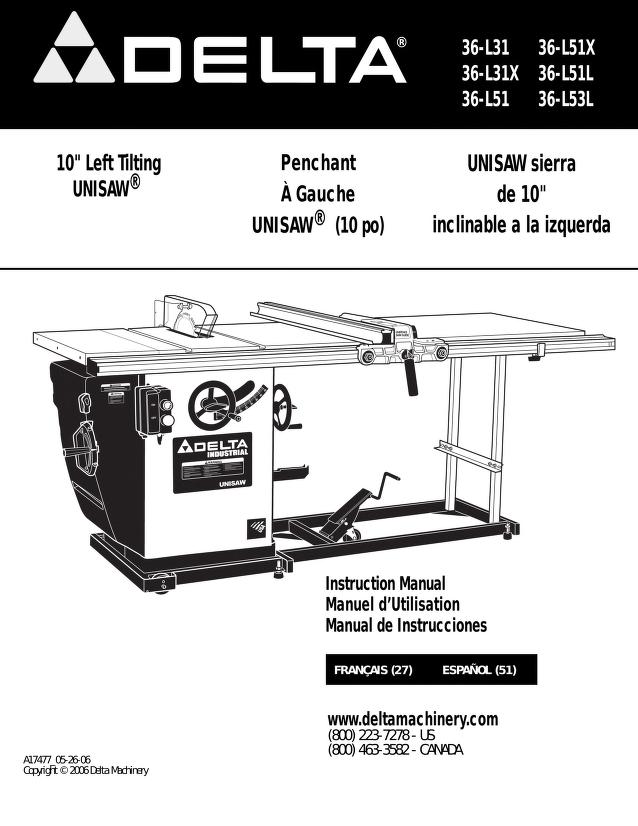
Setup Your New Table Saw
Prepare Your Workshop Space:
- Space: Table saws require space to operate, space for infeed (wood going in), outfeed (wood coming out), and space to work around the saw. Choose a spot in your garage with ample room.
- Power: Ensure you have a dedicated electrical circuit that can handle the amperage draw of your table saw. Many table saws run on a standard 120V household circuit (typically 15 or 20 amps), but some larger cabinet saws require 220V to 240V electricity, which is not as common in most homes. If you're unsure about the electrical requirements of your saw, or if your garage lacks the necessary outlet, consult a licensed electrician to discuss options for adding a new circuit.
- Lighting: Good lighting is essential for visibility and safety around the saw blade. Improve overhead lighting in your workspace if needed.
- Dust control: Table saws are notorious dust producers, generating both fine sawdust that can linger in the air and larger chips that clutter the workspace. To protect your health and keep your shop clean, plan for a robust dust collection system. Ideally, connect a powerful dust collector or shop vacuum directly to the saw's dust port. Additionally, wear a well-fitted dust mask or respirator, especially when making extended cuts, to protect your lungs from harmful airborne particles.
Unboxing and Assembly
- Unpack carefully: Go through the manual and parts list, making sure every component is present and undamaged.
- Assembly: Follow the manufacturer's instructions meticulously. This might include attaching the legs/stand, the table wings, the blade guard, and the riving knife.
- Placement: Once assembled, move the saw to its designated location in your workshop. Consider a mobile base for flexibility if space allows. Ensure the floor is level to prevent wobbling.

Alignment and Calibration: The Key to Accurate Cuts
- Blade to miter slot: Use a precision square or a quality dial indicator to check the alignment of your blade to the miter slot. It must be parallel within tight tolerances for accurate cuts. Consult your saw's manual for adjustment instructions
- Fence parallelism: The rip fence needs to run absolutely parallel to the blade. Measure the distance from the fence to the blade's front and back teeth. Adjust the fence until the measurements are equal, ensuring smooth, bind-free cuts.
- Bevel settings: Check that the blade's 90 and 45-degree angle stops are accurate. Use a reliable machinist's square for this check. Some saws have calibration adjustments.
Essential Safety Precautions
- Read the manual thoroughly: Familiarize yourself with all of the saw's features, adjustments, and safety instructions.
- Blade guard and riving knife: Always use these safety features. They significantly reduce the risk of kickback.
- Push sticks and push blocks: Never bring your hands within inches of the blade. Utilize these tools to guide wood through the cut.
- Eye and ear protection:Safety glasses and ear protection are non-negotiable when operating a table saw.
Additional Considerations
- Outfeed support: If you are cutting longer pieces of wood, an outfeed table or roller stand is crucial to support the material and prevent dangerous kickback.
- Blade selection: Choose the appropriate blade for the type of cuts you'll be performing. A good crosscut blade and a rip blade are woodworking staples.
- Test cuts: Before embarking on real projects, take time to make test cuts on scrap wood. This lets you fine-tune adjustments and familiarize yourself with the saw's feel.